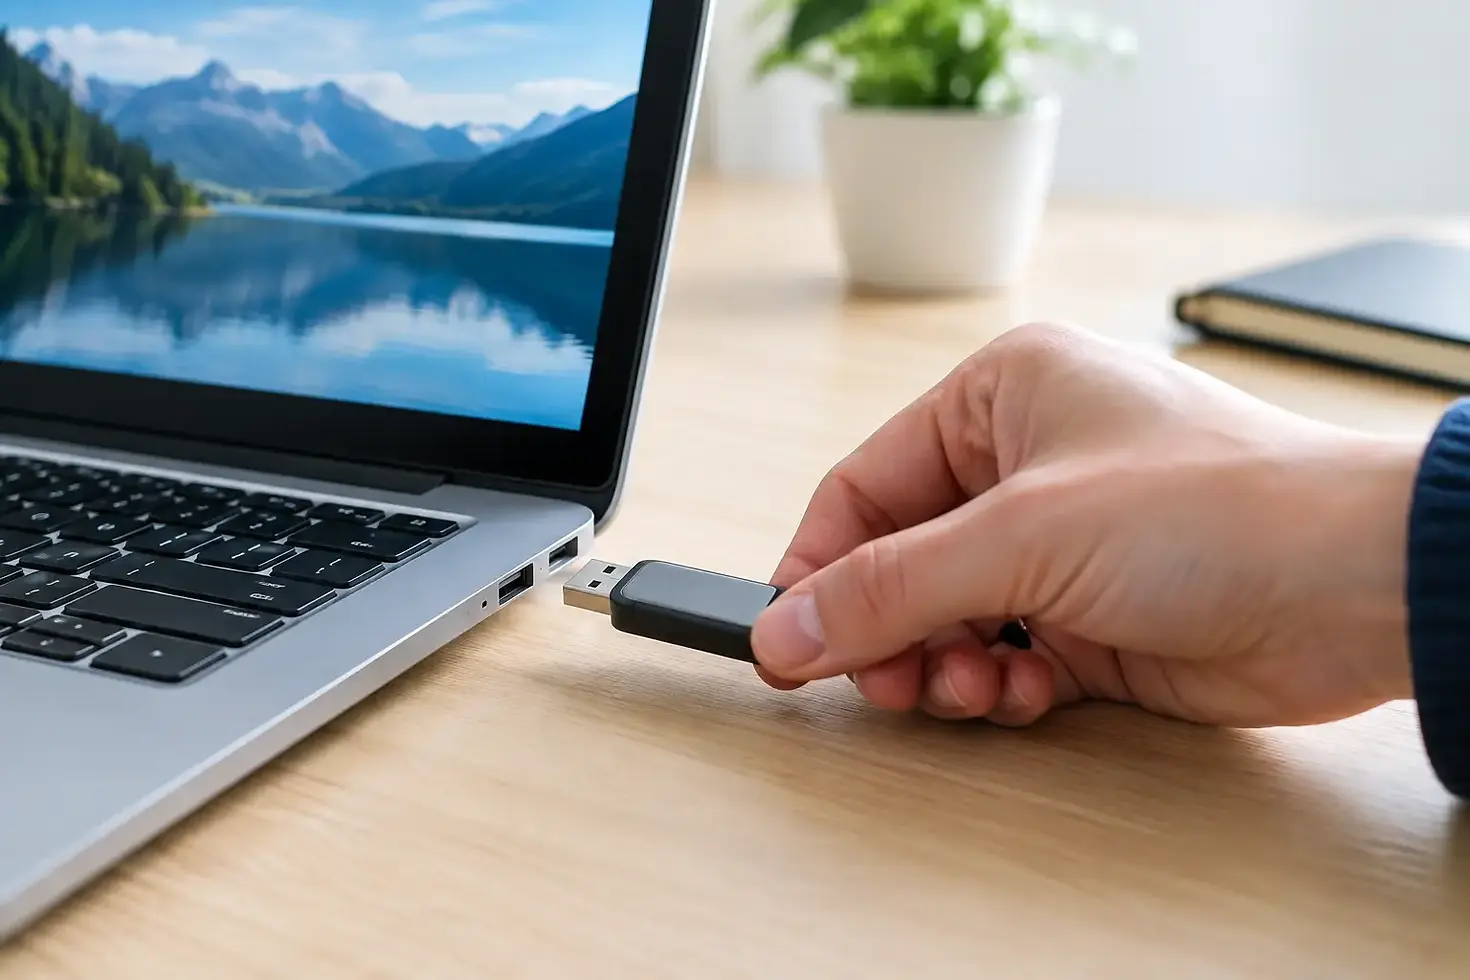
How to Transfer Slides Onto a USB Drive Safely

A box of photo slides can hold decades of birthdays, reunions, school events, vacations, and family members whose stories deserve to be seen again. To transfer slides onto a USB drive, the slides first need to be converted into digital image files. Once scanned, those files can be organized, copied to a flash drive, and shared with family without repeatedly handling the originals.
The process sounds simple, but the quality of the scan, the condition of the slides, and the way files are saved all make a difference. A carefully prepared USB drive can become a practical archive for viewing photos on a computer, smart TV, or digital photo frame.
How to Transfer Slides Onto a USB Drive
A photographic slide is not a digital file, so it cannot be copied directly onto a USB drive. It must be digitized first. Most family collections contain 35mm mounted slides, although some may include larger formats or negatives that require different equipment.
Start by looking through the collection and separating slides with mold, dirt, bent mounts, or other visible damage. Handle each slide by the cardboard or plastic mount rather than touching the film surface. Fingerprints, scratches, and dust can become much more noticeable after scanning.
For a small, clean collection, a dedicated slide scanner can work well. Avoid relying on a basic flatbed scanner unless it is designed for transparencies. A scanner made for slides uses backlighting and produces better detail, color, and exposure than a standard document scanner.
Scan at a resolution appropriate for how the images will be used. For casual viewing on a computer or TV, a moderate-resolution scan may be sufficient. If the family may want to make prints, crop images, or preserve the photos for long-term use, a higher-resolution scan is the better choice. Higher resolution creates larger files and takes more time, but it preserves more image detail for future projects.
Once the slides are scanned, save the files in a common format such as JPEG or TIFF. JPEG files are smaller and easy to view on nearly any device. TIFF files retain more image information and are often preferred for archival work, but they take up significantly more storage space. Many families choose JPEG files for the USB drive and keep higher-quality master files stored separately.
Prepare the USB Drive Before Copying Files
Choose a new, name-brand USB flash drive rather than relying on an old promotional drive that has been sitting in a drawer. The drive should have enough capacity for the full collection, with room for future additions. A few hundred JPEG scans may fit comfortably on a 16 GB or 32 GB drive, while large TIFF files, high-resolution scans, or several family collections may call for 64 GB or more.
Before adding files, format the drive in a file system that works with the devices where it will be used. exFAT is generally a practical choice for newer Windows computers, Macs, and many smart TVs because it supports large files. FAT32 has wide compatibility with older devices, but it limits individual file sizes. If the drive will only be used with one particular computer or TV, check that device's instructions first.
Give the drive a clear label, such as “Smith Family Slides 1958-1994.” A physical label helps prevent the drive from being misplaced or confused with other storage devices. It is also wise to include a simple text file with the collection name, date of transfer, and any helpful background information about the photographs.
Organize Digital Slide Files So They Stay Useful
A USB drive becomes much more valuable when its folders make sense to someone other than the person who created them. Instead of placing hundreds of files in one folder with names like IMG_0001, organize the collection by year, event, family branch, or location.
For example, a top-level folder might be called “Family Slides,” with folders underneath for “1960s,” “1970s,” “Beach Vacations,” and “Holiday Photos.” If exact dates are known, include them in the file name in year-month-day order. A file named `1976-07-04Family-Picnic001.jpg` is far easier to find than `scan143.jpg`.
Do not feel pressured to identify every image before transferring it. For many older collections, dates and names are uncertain. A folder titled “Unknown Dates” is better than delaying the entire project. Family members can help identify people and places later, especially once the images are easy to view on a large screen.
If the slides are faded, have a strong color cast, or were scanned from damaged originals, basic color correction can improve their appearance. However, editing should be handled carefully. Keeping an unedited scan alongside an adjusted viewing copy preserves the original digital capture and gives you options later.
Copy the Scans and Check the Results
Create the folder structure on the USB drive, then copy the completed image folders to it. Let the transfer finish completely before removing the drive. Pulling out a USB drive while files are still being copied can corrupt the files or the drive itself.
After the copy is complete, open a representative sample of photos directly from the USB drive. Check images from the beginning, middle, and end of the collection. Make sure the files open, folders are complete, and image names appear as expected. If the drive will be used on a smart TV or photo frame, test it there as well. Some devices display photos only when they are in a certain folder or saved in a supported format.
Eject the USB drive using the computer's safe removal option before unplugging it. This small step reduces the risk of incomplete file writes, particularly when transferring a large collection.
Keep More Than One Copy of Family Slides
A USB drive is convenient, portable, and easy to hand to a relative, but it should not be the only copy of irreplaceable photographs. Flash drives can be lost, damaged, or eventually fail without much warning.
Keep the original slides in archival storage whenever possible, even after digitization. Store a second copy of the scanned files on a computer, external hard drive, or another USB drive kept in a separate location. For the strongest protection, maintain three copies: the original slides, a local digital copy, and an additional copy stored away from the home or office.
It also helps to revisit stored digital files every few years. Technology changes, and moving the collection to a newer drive or storage system before an older device fails is much easier than trying to recover files afterward.
When Professional Slide Transfer Is the Better Choice
Scanning slides at home can be satisfying for a small collection in good condition. It becomes more demanding when there are hundreds or thousands of slides, when images need consistent color correction, or when the collection includes fragile film, damaged mounts, negatives, or mixed media.
Professional transfer is often the practical choice when time matters or the images cannot be replaced. Specialized equipment can capture slides efficiently and consistently, while experienced handling reduces unnecessary risk to aging film. A professional service can also help organize files, create USB copies, and prepare images for photo montages, DVD projects, presentations, or family sharing.
Digital Transfer Service of West Virginia provides slide and negative transfer with personalized local service for families, organizations, and businesses that need dependable digital files without the uncertainty of managing older media alone. For a presentation archive or a family collection, discussing the intended use before scanning helps determine the right resolution, file format, and USB capacity.
A labeled USB drive full of well-organized images is more than a storage device. It gives old slides a practical new life, making it easier for the people who matter most to view, remember, and pass those moments along.


Comments